When it comes to showcasing fashion in a retail setting or for photography and display purposes, female mannequins are an essential tool. As a leading supplier of female mannequins, I understand the importance of not only providing high - quality products but also ensuring that customers are well - informed about the installation process. In this blog, I will walk you through the step - by - step installation process for female mannequins, which can vary depending on the type of mannequin you have purchased.

Types of Female Mannequins
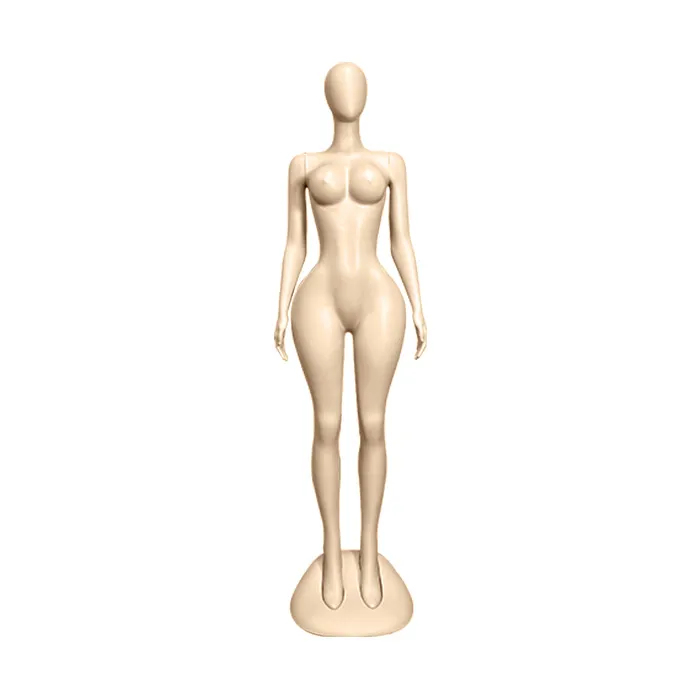
Before delving into the installation process, it's crucial to understand the different types of female mannequins available. At our store, we offer a wide range of options, including the Curvy Full Body Mannequin, Plus Size Female Mannequin, and Plastic Female Full Body Mannequin. Each type has its own unique features and installation requirements.
General Tools Needed
Regardless of the type of female mannequin you choose, there are some common tools that you will need for the installation process. These include a Phillips - head screwdriver, a flat - head screwdriver, a wrench (if required), and a soft cloth to clean the mannequin parts.
Unpacking and Inspection
The first step in the installation process is to unpack the mannequin carefully. Start by removing all the packaging materials and lay out the parts on a clean, flat surface. Inspect each part for any signs of damage during transit. Check for cracks, scratches, or missing pieces. If you find any issues, contact our customer service immediately, and we will assist you in resolving the problem.
Assembly of the Base
Most female mannequins come with a base that provides stability. The base is usually made of metal or plastic. If your mannequin has a metal base, it may require some assembly. Use the provided screws and the Phillips - head screwdriver to attach the legs or support bars to the base plate. Make sure the screws are tightened securely, but be careful not to overtighten, as this could strip the threads.
If you have a plastic base, it may be a single - piece or require minimal assembly. Follow the instructions provided to ensure the base is properly assembled. Once the base is assembled, place it on a stable surface where you plan to display the mannequin.
Attaching the Torso to the Base
After the base is ready, it's time to attach the torso of the mannequin to the base. Some mannequins have a simple plug - and - play design, where the torso has a rod at the bottom that fits into a socket on the base. Align the rod with the socket and gently push the torso down until it fits snugly.
For other models, you may need to use screws to secure the torso to the base. Insert the screws through the holes in the base and into the corresponding holes in the torso. Use the Phillips - head screwdriver to tighten the screws. Check that the torso is level and straight on the base. You can use a spirit level to ensure accuracy.
Adding the Arms
The arms of the female mannequin are usually detachable for easy transportation and storage. To attach the arms, locate the sockets on the sides of the torso. The arms will have a peg or a connector that fits into these sockets. Apply a small amount of pressure and twist the arm slightly to ensure a secure fit.
Some mannequins allow you to adjust the position of the arms. You can bend the arms at the elbows or rotate them to create different poses. This is useful for displaying clothing in various styles. If your mannequin has adjustable arms, refer to the instruction manual for the specific adjustment mechanism.
Installing the Head
The head of the mannequin is the final major part to install. Similar to the arms, the head has a connector that fits into a socket on the top of the torso. Align the connector with the socket and gently press the head down until it is firmly attached.
Some heads may have a locking mechanism to prevent them from coming loose. If so, follow the instructions to engage the lock. You can also adjust the angle of the head to create different looks. For example, tilting the head slightly to the side can give a more natural and engaging appearance.
Final Checks
Once all the parts are installed, give the mannequin a final inspection. Check that all the connections are secure and that the mannequin is stable on its base. Gently shake the mannequin to ensure it doesn't wobble. If there are any loose parts, tighten the screws or connectors as needed.
Use the soft cloth to clean the mannequin and remove any fingerprints or dust that may have accumulated during the installation process. Now, your female mannequin is ready to be dressed and displayed.
Tips for a Successful Installation
- Read the Instructions: Always read the installation instructions provided with your mannequin carefully. They are designed to guide you through the process specific to your model.
- Take Your Time: Don't rush the installation process. Taking the time to assemble the mannequin correctly will ensure a stable and long - lasting display.
- Ask for Help: If you encounter any difficulties during the installation, don't hesitate to contact our customer service. We have a team of experts who are ready to assist you.
Conclusion
Installing a female mannequin is a straightforward process if you follow the steps outlined above. As a trusted supplier of female mannequins, we are committed to providing you with high - quality products and the support you need to ensure a successful installation. Whether you have chosen a Curvy Full Body Mannequin, Plus Size Female Mannequin, or Plastic Female Full Body Mannequin, we are here to help you make the most of your purchase.
If you are interested in purchasing female mannequins for your retail store, photography studio, or any other display needs, we invite you to contact us for more information and to discuss your specific requirements. Our team is eager to work with you to find the perfect mannequins for your business.
References
- Retail Display Manuals
- Industry Standards for Mannequin Installation